In my early thirties, making knives, living off grid and learning to forge with the guidance of Alexander Weygers’s book , The Modern Blacksmith. There is no mention of fire-welding in the text and my attempts were 50/50 hit ‘n miss. Then in 1990 , in Tasmania, I approached a blacksmith and world class Farrier in Nichole’s Rivulet, Dominique Fletcher, who told me I was being too particular and then demonstrated his technique.
This is pretty much it and I never had a problem again.
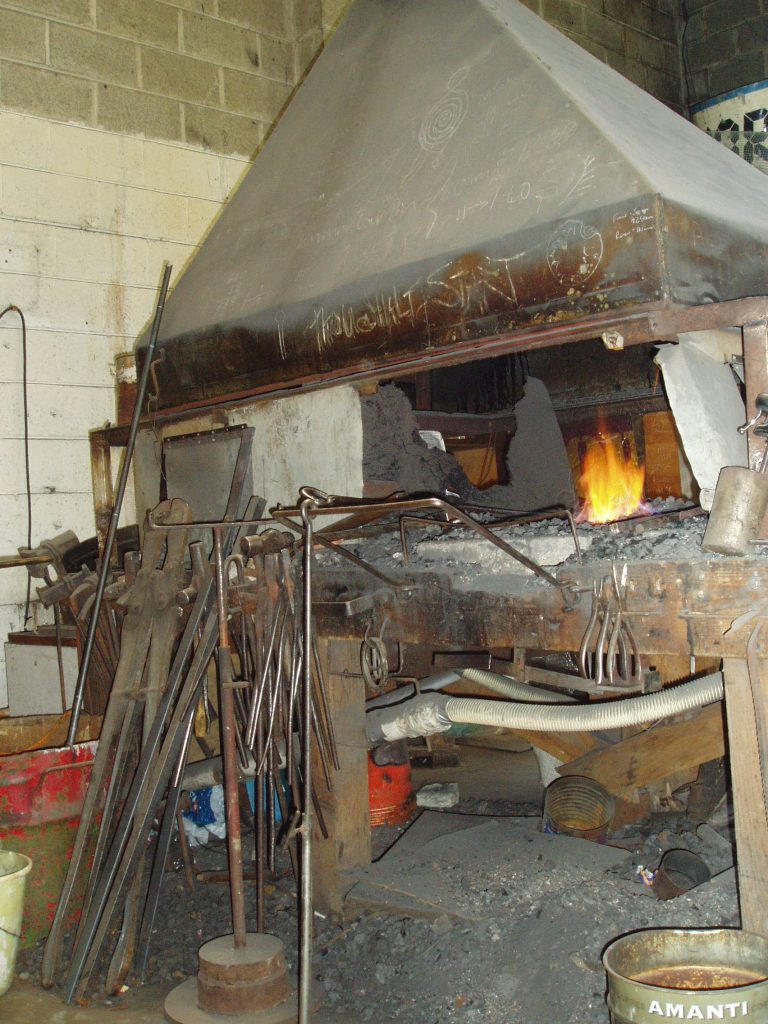
FIRE WELDING IN A COKE FORGE
Your fire needs to be fresh, deep and hot and free of clinker, using as little draft as you can to achieve temperature. A deep fire that has burned off the oxygen before it gets to your work, situated snugly in the coals high in the fire.(this is to have a reducing heat, ie minimal oxygen)
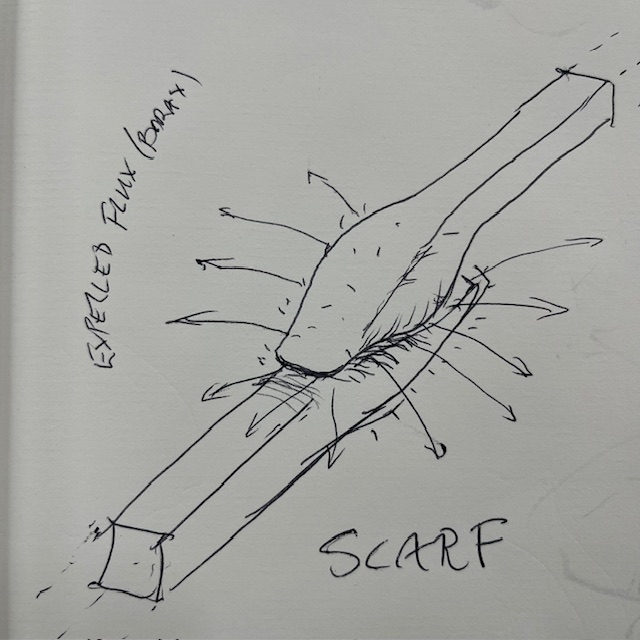
The pieces to be welded should be properly scarfed prior to welding.this means, shaped so as when brought together they will squeeze out any flux between them when hammered .. (convex surfaces coming together under your hammer)
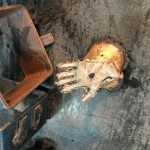
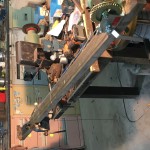
Bring the pieces to be welded up to a bright orange heat.. quickly take them out and wire brush the scarfs to remove all fire-scale (oxidised metal)while immediately liberally sprinkling borax powder on the work.. then back into the fire.(this is done very quickly as the flux has melted to form a shield of glass, excluding oxygen from the surfaces… Then increasing your draft, bring the surfaces to to be joined up to a pretty much white heat.. where the surfaces of the scarfs are melting.(you can test the readiness of the surfaces by touching the fine sharp point of your poker/prod to them and if it sticks, Go! .. alternately, at the first sign of sparks, Go!)
You will develop an eye for it.. that white-hot surface melt.
Caveat! I’m 74 years old.. have early onset macular degeneration..and a macular hole condition.. surgery soon.. so perhaps use infrared etc shielding glasses .. available for glass bead making. (?)
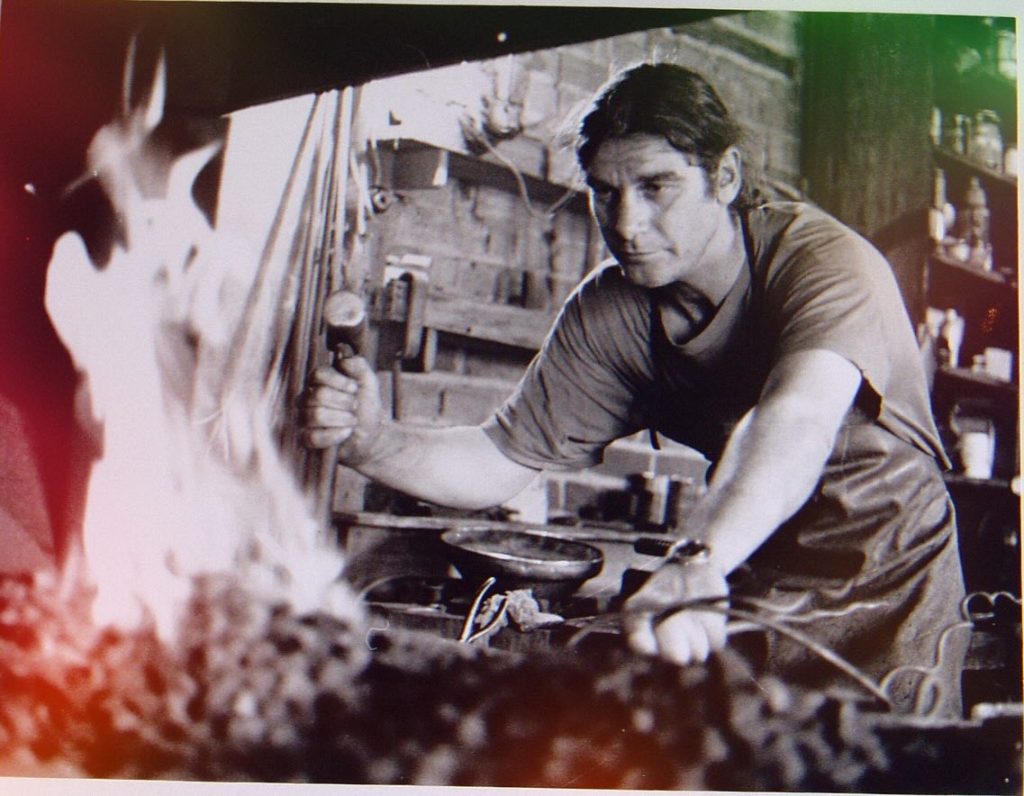
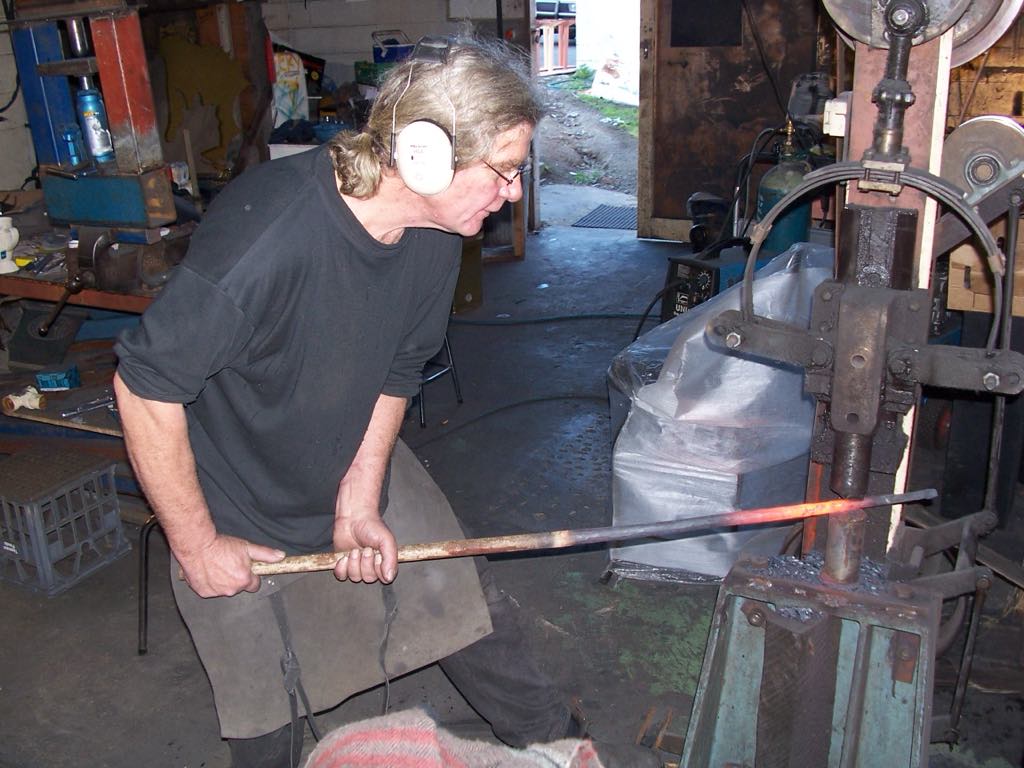
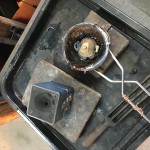
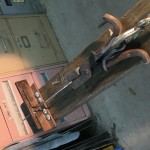
Then working very fast.. in one move, bring the two pieces together while smacking them, forcefully onto the anvil and GENTLY settling them together with a couple of light hammer blows.. squeezing the molten flux and any oxides out from the sides of the scarfing and simultaneously tacking the weld together.(the gently bit is because the surfaces are liquid and slippery and the work extremely malleable under such high temperature and so you want to avoid as much slippage and distortion as possible…and then still in all in the same move , return the work to the fire. (You can also re brush and flux In that same move, however that isn’t always necessary).. Now bring the work to welding heat again and return to the anvil to firm down the join and dress it to shape with your hammmer.
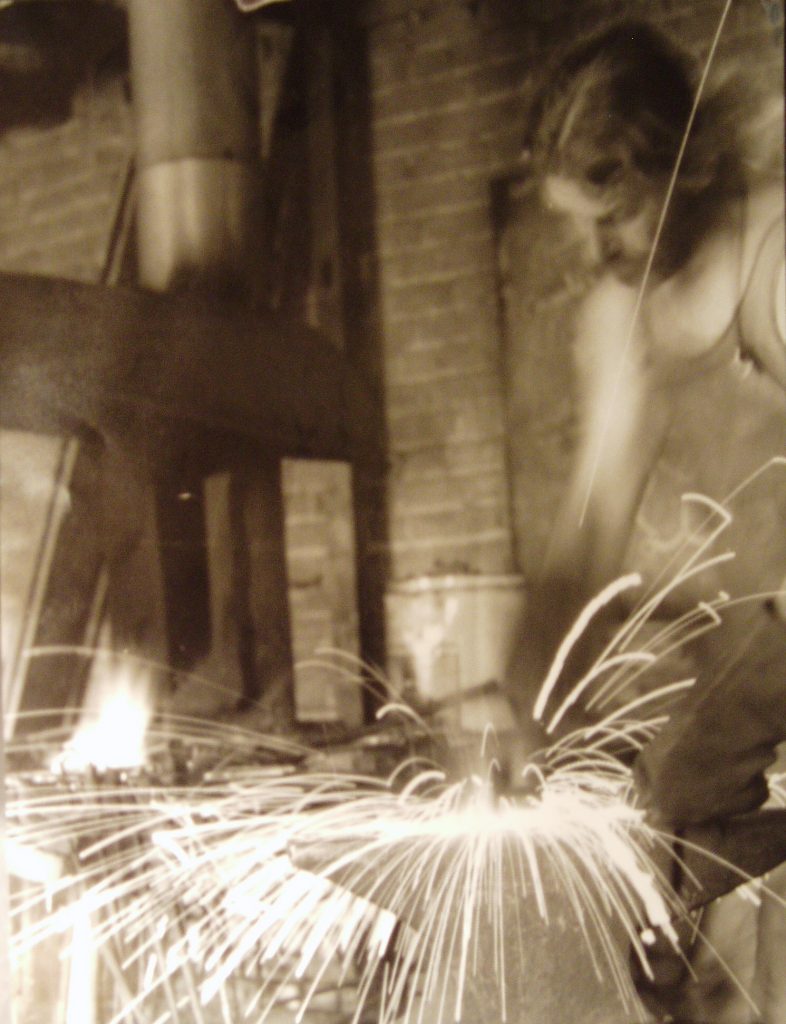
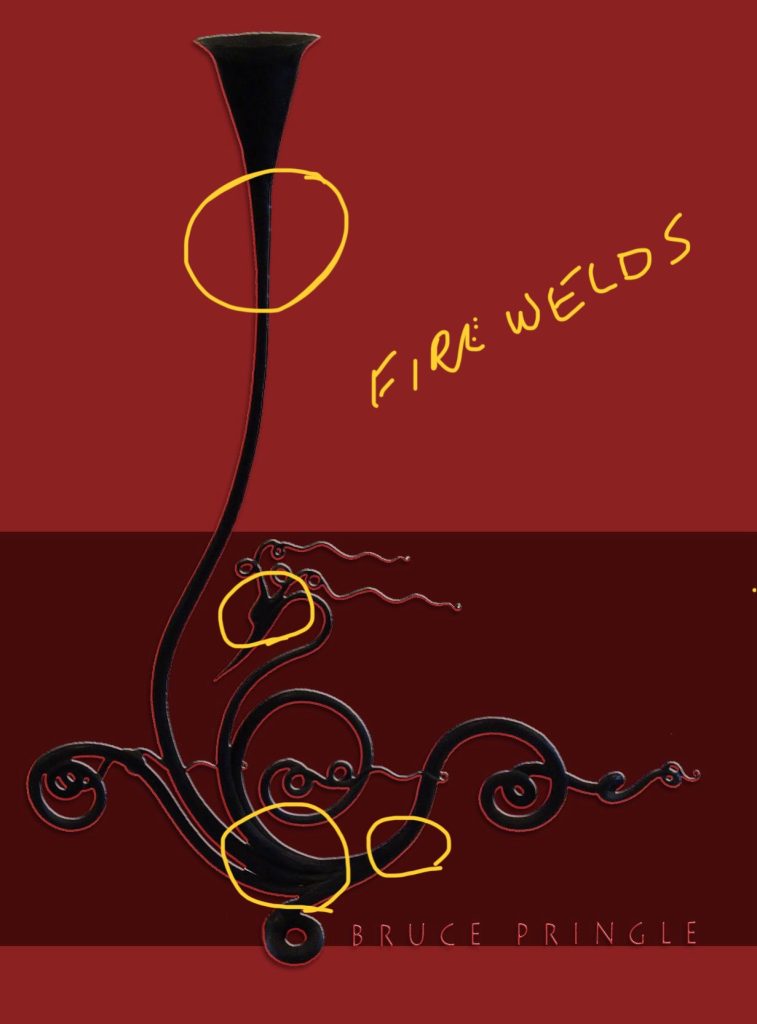
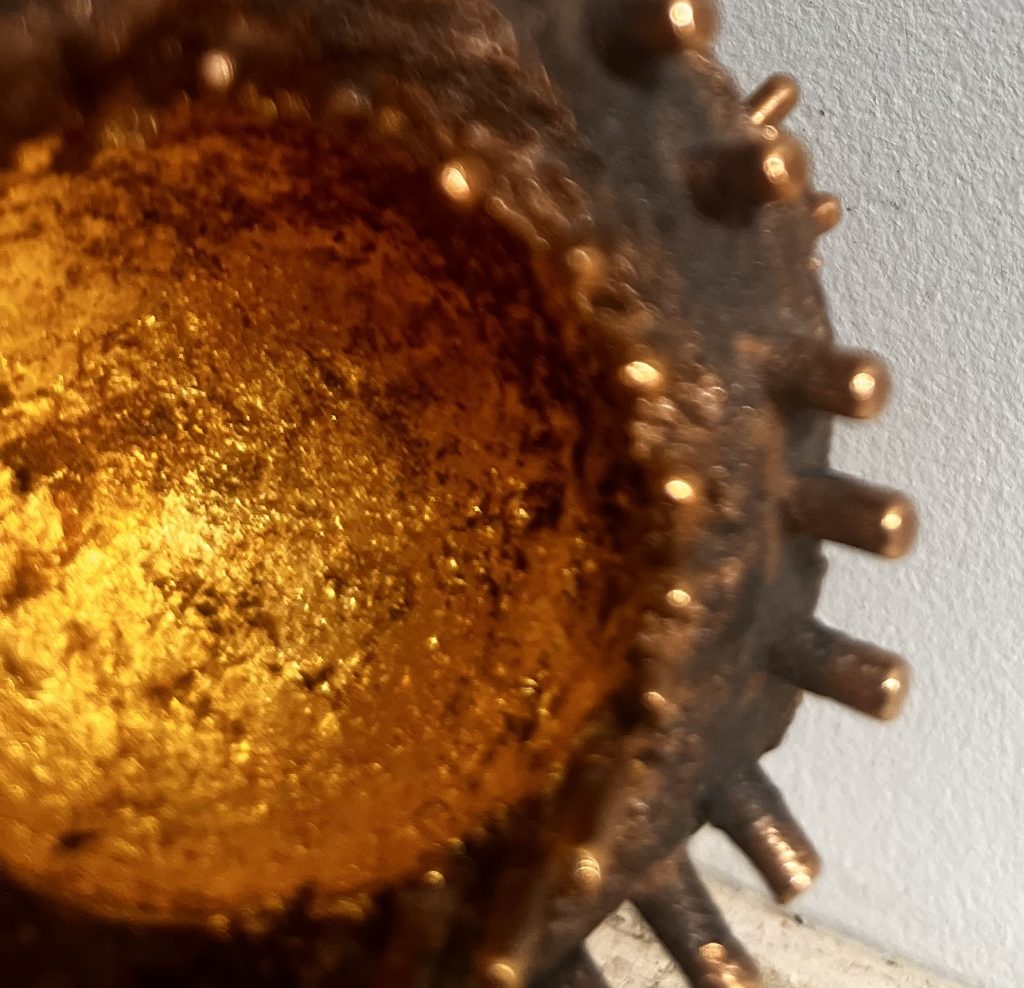
That is pretty much it.. The massive spark showers that you see in pictures of blacksmiths working, is the molten flux and iron being expelled from the scarfed joint .. essential because you can’t have the borax flux getting trapped between the surfaces to be welded and thus having the join not fuse and consequently fail.
You will get probably two and at most three welds from your fire before you will need to shut the draft, let it cool and let the clinker settle and harden before discarding it and resetting your fire before continuing.
(Clinker, cursed be its name!, are silica and impurities in the coke, melting out, creating a sticky mess of your fire… also, always keep an eye on the fire just below your work when welding.. you will see a dark, cold spot that is clinker that doesn’t burn and glow.. indicating that you have cold oxygen hitting and oxidising your work.. Remake your fire).